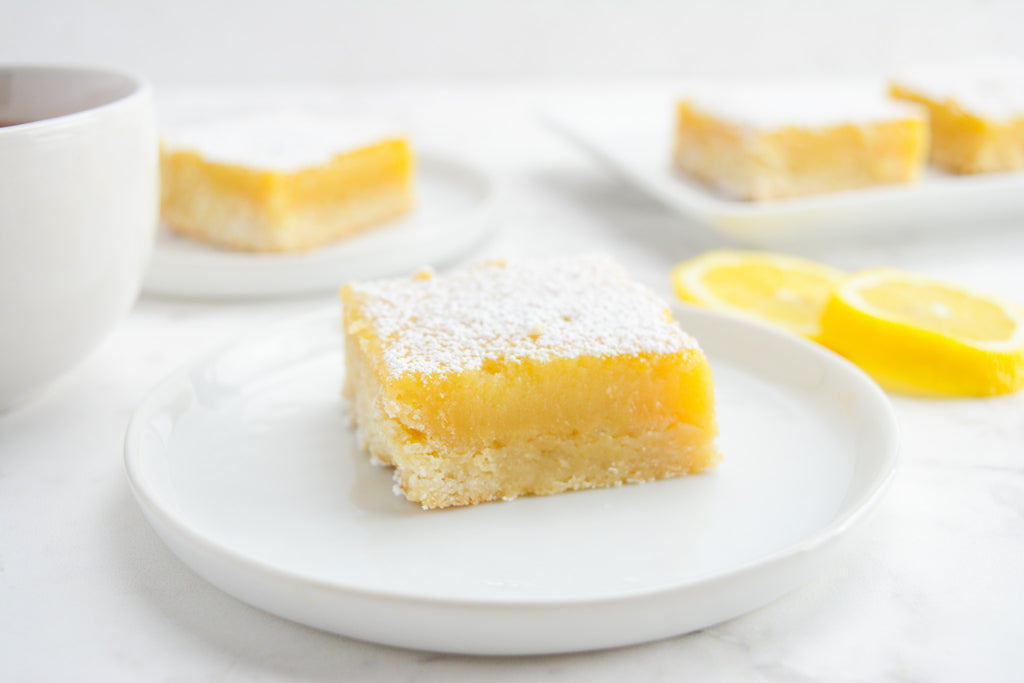
These Earl Grey Lemon bars are the perfect summertime treat. They have all the flavour of classic lemon bars but with a subtle hint of tea that adds depth to this sweet and tart seasonal dessert.
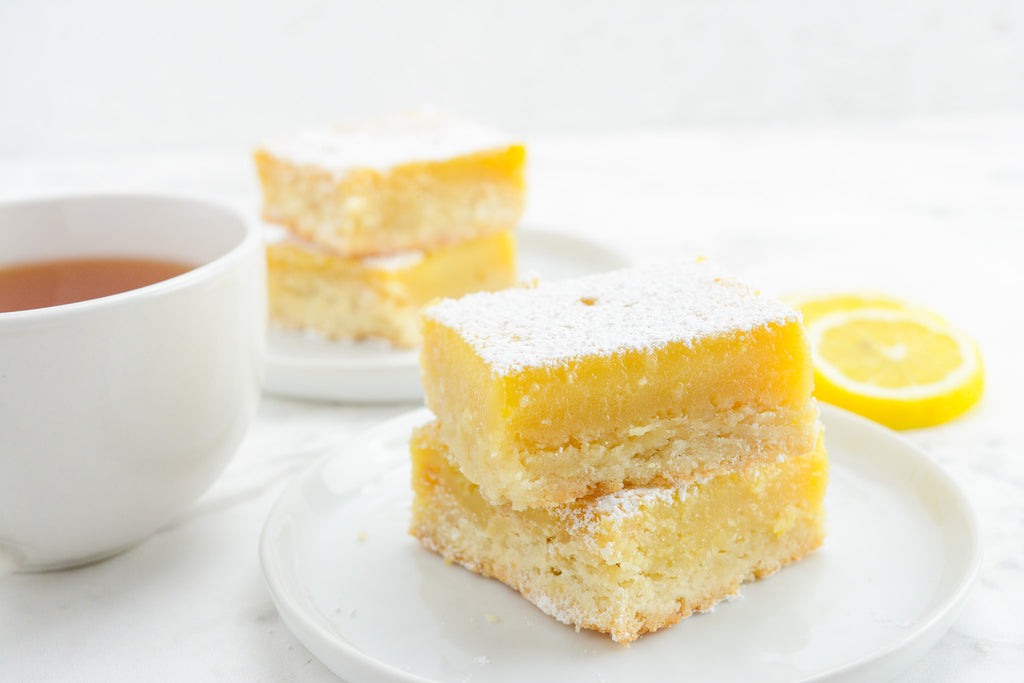
Lemon squares are always a crowd favourite. Their buttery crust and soft, sweet lemon filling make them a popular treat among all ages. They're simple to make and the perfect addition to your party dessert tables. If you love earl grey tea, this twist on traditional lemon bars will surely be a winner.
It's always fun to enjoy outdoor get-togethers once the weather warms up, but it's important that the treats you serve can easily withstand higher temperatures. This is one reason why our postal blondies, postal brownies, and cookie delivery make excellent treats to serve at your outdoor gatherings.
To make your to-do list a little shorter this Spring, a mix of premade and homemade desserts can save you a lot of time. Your friends at Chummys want to help take some work off your plate so you have more space for our delicious treats. You can impress your guests with your baking skills with simple recipes like these lemon bars and leave the rest to us.
Why You'll Love This Recipe
Simple- This lemon bar recipe uses basic ingredients that are easy to find in the average supermarket. It's also a great recipe for beginner bakers because it includes no advanced techniques.
Quick- These bars won't keep you in the kitchen all day. Instead, you can have them assembled, baked, and ready to chill in less than an hour.
Flavourful- Lemon flavour with Earl Grey tea is a delightful match. While you may not think of tea as part of a traditional dessert recipe, the Earl Grey flavour in these bars adds a pleasant depth that takes this dessert to the next level.
What is lemon bar crust made from?
In this recipe, the lemon bar crust is made from shortbread. However, there are a number of options that can easily be substituted, from your favourite cookie, crushed up, to crumbled digestive biscuits.
Do lemon bars have to be refrigerated?
Because lemon bars have an egg-based filling, they must be stored in the refrigerator. Lemon bars are best served chilled, anyway, but for a softer bar, you can leave them out for 30 minutes before serving. Just don't leave them at room temperature for longer than two hours.
Ingredients
Plain Flour- This makes up the base for the crust.
Granulated Sugar- White granulated sugar adds sweetness to the shortbread crust.
Unsalted Butter- Unsalted butter adds moisture and flavour to the crust. This recipe works best when the butter is softened to room temperature rather than melted. If you only have salted butter, feel free to use that and omit the added salt in the recipe.
Salt- Salt awakens all the sweet flavours in the lemon bars, helping them to shine in every bite.
Vanilla Extract- Vanilla extract is an aromatic ingredient that elevates the crust.
Fresh lemons- Both lemon juice and lemon zest are used to give these lemon bars lots of fresh flavour. When shopping for lemons, be sure to look for firm, vibrant rinds free of blemishes.
Corn Starch- Corn starch helps prevent a runny filling. You can omit this ingredient in a pinch, but the filling may remain less firm.
Earl Grey Tea- Using your favourite brewing method, you'll need to make two bags of Earl Grey tea. However, if your tea is particularly strong, you may only need one tea bag to achieve the subtle flavour.
Eggs- Eggs provide a rich base for the lemon filling. Room temperature eggs are preferred because they easily whisk into the filling mixture. Whenever possible, free range eggs are recommended.
How to make Earl Grey Lemon Bars
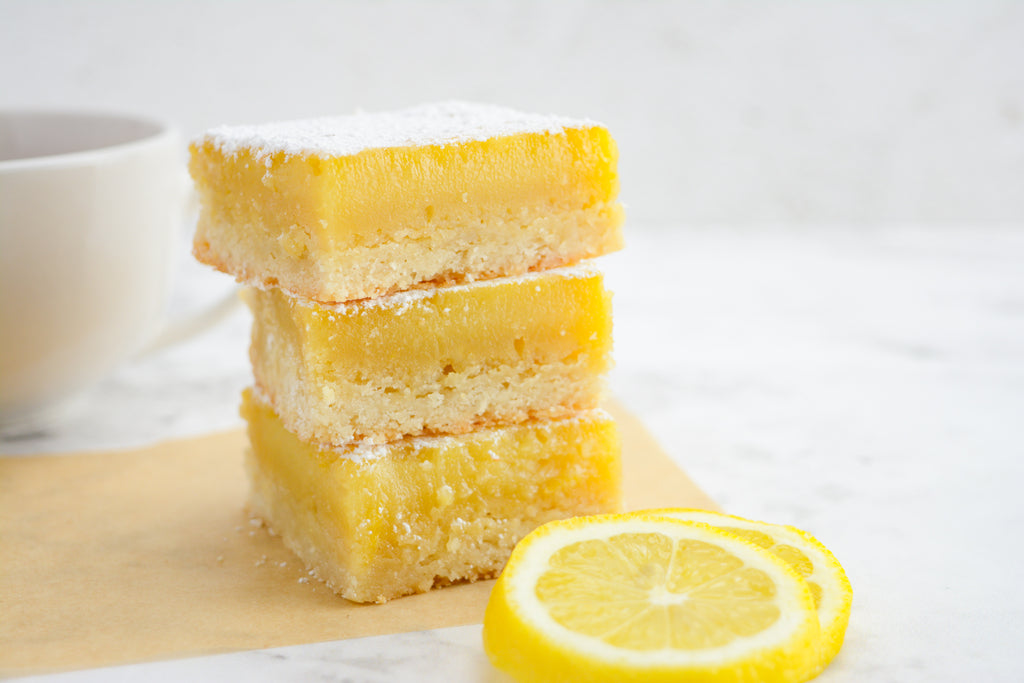
Prep time: 20 minutes
Cook time: 30 minutes
Chilling time: 4-6 hours
Yield: 12 bars, 1 per serving
Ingredients
Crust
240 grams plain flour
25 grams granulated sugar
113 grams unsalted butter, softened
1 teaspoon vanilla extract
1/2 teaspoon salt
Filling
2 Earl Grey tea bags
4 ounces hot water, for brewing tea
3 lemons (should give approximately 118 ml of juice)
200 grams granulated sugar
3 free range large eggs, room temperature, whisked
120 grams plain flour, sifted
1/2 tablespoon cornstarch
Pinch of salt
Icing sugar, for dusting
Directions
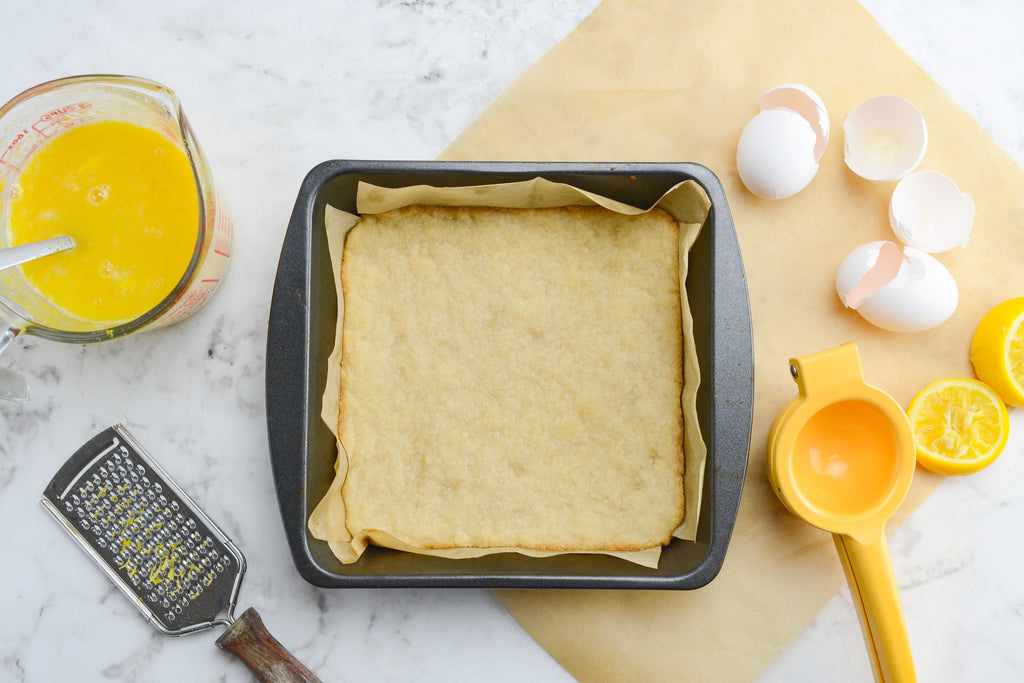
For the crust: Preheat the oven to 180 °C. Line a 20cm x 20 cm square baking pan with parchment paper and spray lightly with cooking spray. Set aside.
In a medium bowl, mix together the flour, sugar, butter, vanilla extract, and salt until a soft cohesive dough forms.
Press the soft dough into the pan to fully cover the bottom in an even layer.
Bake for 12-15 minutes until the crust turns light golden brown.
When done, allow the crust to cool completely before adding the filling. You can speed up this process by allowing the pan to cool for 5-10 minutes until it's no longer warm to the touch, and then refrigerating or freezing the crust until it's fully cooled. Just keep a close eye on it.
For the filling: Begin by placing the tea bags into a mug and pouring hot water over them. Steep for 3-5 minutes. Some tea is naturally more robust, so keep that in mind when deciding how long to steep. Next, remove the tea bags and let the tea cool for at least 10 minutes.
Zest one of the lemons and set the zest aside. Then, juice all the lemons into a small measuring cup.
In a medium mixing bowl, whisk together the lemon juice, lemon zest, granulated sugar, and three tablespoons of brewed tea until well combined. Next, whisk in the eggs until just combined, being mindful not to overmix.
Whisk in the flour, corn starch, and a pinch of salt until smooth.
Pour the filling into the baking dish on top of the prepared and cooled crust.
Bake for 25-30 minutes until the bars look firm on the top and are lightly browned. As ovens may vary slightly, it's best to keep an eye on your lemon bars beginning around 18 minutes. Rotate your pan if needed.
Once done, allow the bars to cool on the counter for 10-15 minutes before placing them into the refrigerator to chill for 4-6 hours. Alternatively, you can speed up the cooling process by putting them in the freezer for 30-45 minutes.
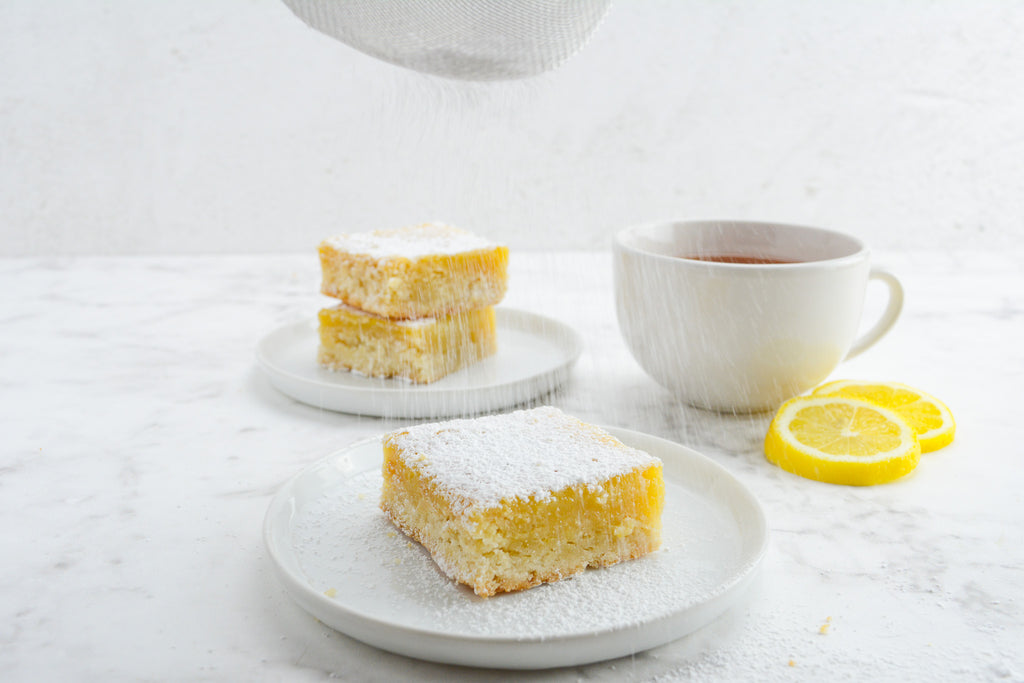
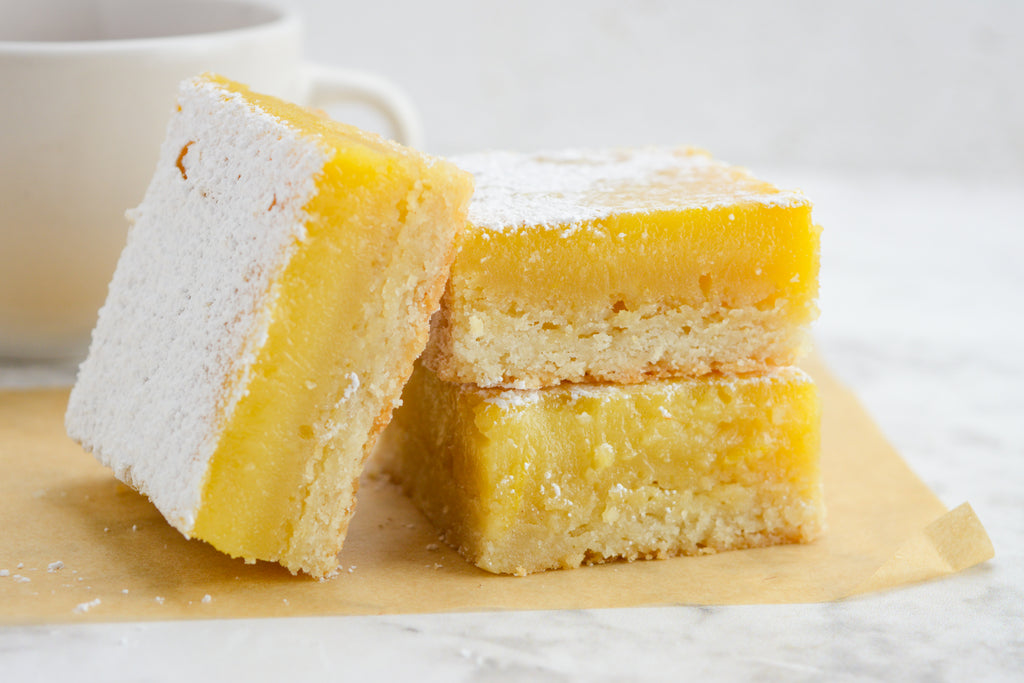
To serve: Just before serving, add the icing sugar on top. For an even layer of icing sugar, add 1/4 cup of icing sugar into a sifter while holding it over the bars and gently shaking it back and forth with the desired amount. Serve lemon bars chilled or at room temperature.
Expert Tips
-
Always let the crust cool before adding the filling. Adding the lemon filling before the bars are fully cooled may allow the liquid to soak into the bars rather than create the traditional layers a lemon bar typically has. So while your dessert will still taste delicious, it won't have the desired lemon curd layer on top.
-
Use fresh lemons whenever possible. Fresh lemon juice will give these lemon bars the best flavour.
-
Coat your knife with a light spritz of cooking spray to prevent the filling from sticking to it as you cut.
-
To store in the refrigerator: Place the bars in an airtight container. If you need to stack them, be sure to separate the layers with parchment paper. Alternatively, you can place them on a plate or in a bowl and cover them with plastic wrap to keep them fresh for up to 3 days.
-
To freeze lemon bars: Wrap a single layer of the leftovers in aluminum foil and then a layer of plastic wrap. Place into a freezer storage bag and store in the freezer for up to 2 months for the best taste. Place them in the refrigerator overnight or on the counter for 30-60 minutes to thaw.
FAQ Earl Grey Lemon Squares
Can I use bottled lemon juice instead?
Absolutely. Sometimes it can be hard to find fresh lemons with adequate juice, so feel free to use bottled lemon juice. The flavour won't be as fresh or as strong, but it will still taste like lemon.
How to make icing sugar at home?
If you find yourself out of icing sugar, it's very simple to make a small amount at home. If you have a small blender, simply add 1 cup of granulated white sugar and 1 tablespoon of cornstarch and blend until the sugar turns soft and powdery, about 3-5 minutes.
How to make lemon zest?
Zesting a lemon is very simple to do. Usually, a microplane or a small cheese grater will work perfectly. First, be sure to wash the lemon. Next, using one of the tools, gently swipe small sections of the lemon over a bowl to remove the yellow peel. Be sure to swipe the lemon only a few times per section to avoid the pith or white flesh underneath the peel, as it can be bitter.
